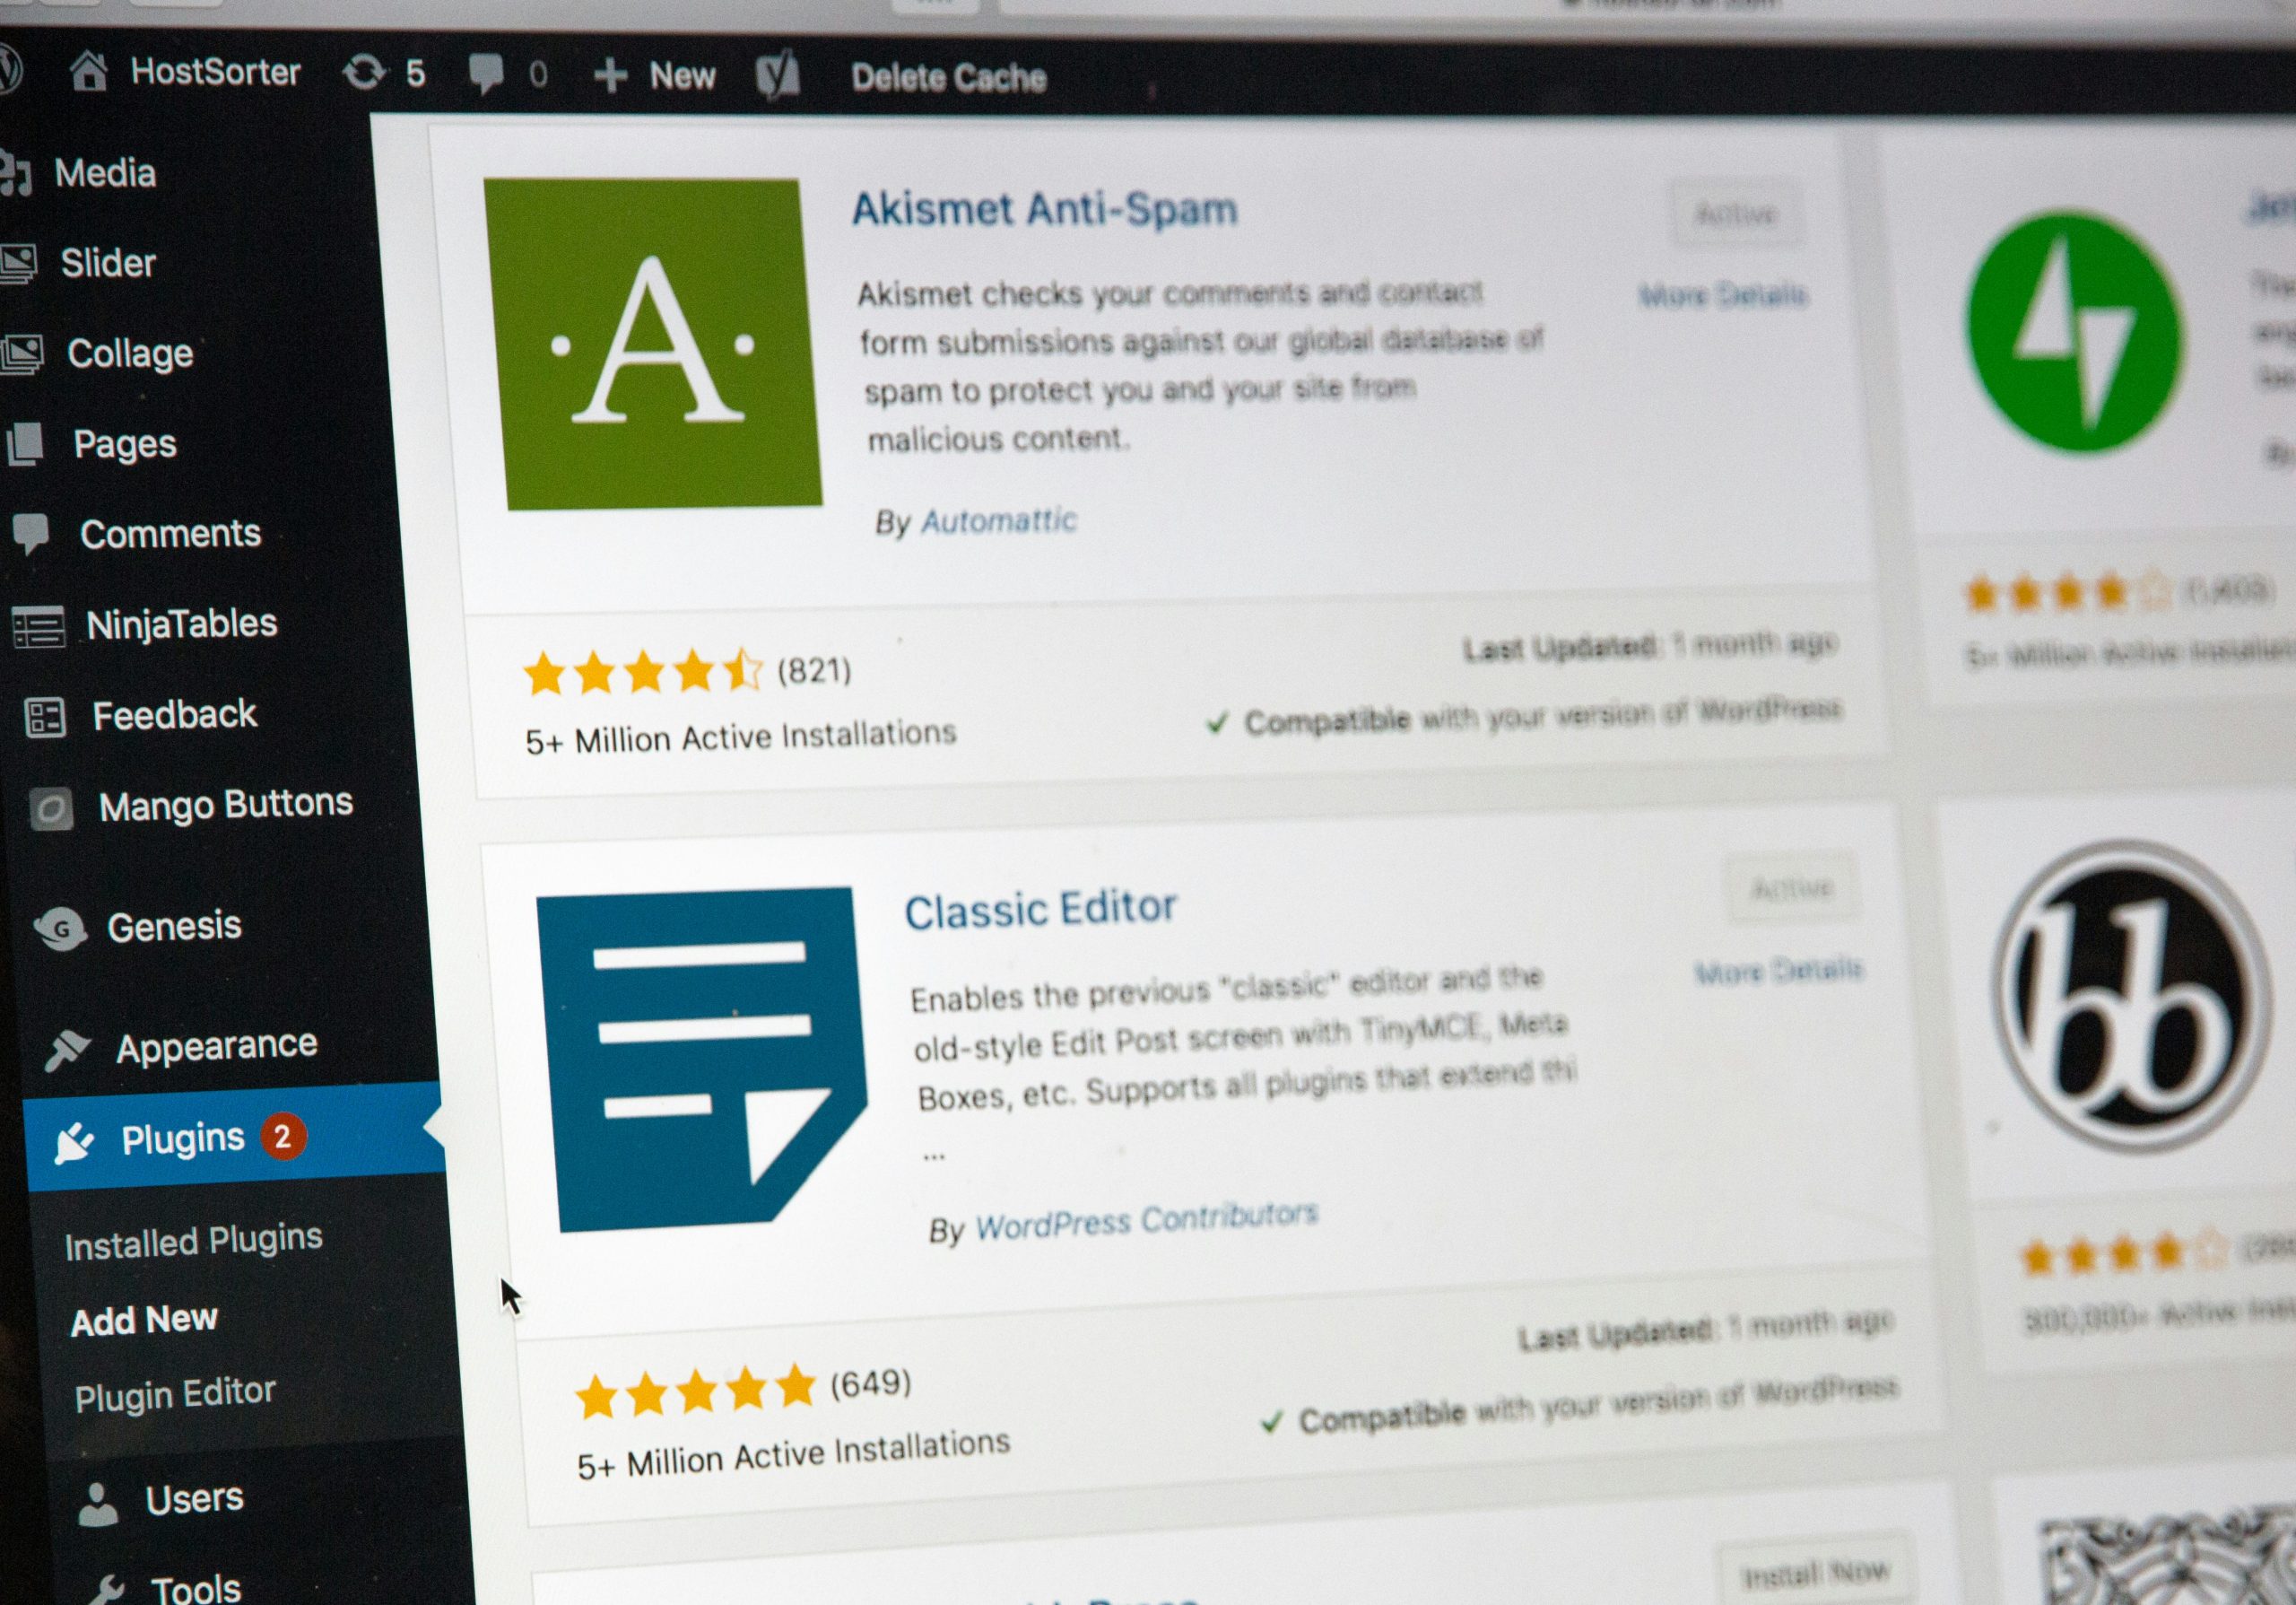
Encountering a “Request Timed Out” error while installing or updating a WordPress plugin can be frustrating, especially when you’re unsure what caused it. This issue typically occurs due to server-related problems, network connectivity failures, or WordPress configuration settings. Fortunately, there are several steps you can take to resolve this error and ensure smooth plugin installations or updates.
What Causes the WordPress Plugin Request Timed Out Error?
Before diving into the solutions, understanding the potential causes can help you prevent similar issues in the future:
- Server limitations: Some web hosts impose strict resource limits, preventing long-running processes such as plugin downloads from completing.
- Slow internet connection: A weak or unstable internet connection can interfere with communication between your WordPress site and the plugin repository.
- Timeout settings: If the WordPress timeout limit is too low, it may cut off downloads before they are complete.
- Plugin conflict: Existing plugins or themes may interfere with new plugin installations.
- Corrupt .htaccess file: Sometimes, a corrupt .htaccess file can block essential WordPress processes.
How to Fix the Plugin Request Timed Out Error
Try these troubleshooting methods to solve the problem:
1. Increase PHP Execution Time
One common reason for this error is a limited execution time set by your server. Adjusting the PHP maximum execution time can help:
- Access your website’s root directory via FTP or cPanel.
- Locate and edit the
wp-config.phpfile. - Add the following line before the
/* That's all, stop editing! */comment:
set_time_limit(300);This increases the PHP execution time to 300 seconds. Save and close the file before retrying the plugin installation.
2. Modify the .htaccess File
A corrupt or overly restrictive .htaccess file can cause timeout issues. Try resetting it:
- Navigate to your WordPress site’s root directory using FTP or cPanel.
- Find the
.htaccessfile and rename it to.htaccess_backup. - Go to WordPress Admin > Settings > Permalinks and click “Save Changes” to generate a new .htaccess file.
Now, attempt to reinstall the plugin.
3. Increase WordPress Memory Limit
A low memory limit may prevent WordPress from completing resource-intensive tasks. To increase it:
- Edit your
wp-config.phpfile. - Insert the following code just before the line that says
/* That's all, stop editing! */:
define('WP_MEMORY_LIMIT', '256M');Save the file and check if the issue persists.
4. Disable Conflicting Plugins and Themes
A conflicting plugin or theme might be causing the timeout error. To test this:
- Deactivate all your plugins from the WordPress dashboard under Plugins > Installed Plugins.
- Try installing the new plugin. If it works, reactivate plugins one by one to identify the culprit.
- If problems persist, switch to a default WordPress theme such as Twenty Twenty-Four and test again.

5. Check Your Web Hosting Server
Some shared hosting providers impose strict execution and timeout limits. If none of the above fixes work, contact your hosting provider and ask if they can:
- Increase the PHP execution time limit.
- Allow a higher memory allocation.
- Check for server-side restrictions affecting plugin downloads.
6. Use an Alternative Plugin Installation Method
If you still can’t install the plugin via the WordPress dashboard, try manually uploading it:
- Download the plugin’s ZIP file from the official WordPress repository.
- Extract the folder on your computer.
- Use an FTP client (like FileZilla) to upload the extracted folder to
wp-content/plugins/. - Go to the WordPress admin panel, navigate to Plugins > Installed Plugins, and activate the uploaded plugin.
7. Clear Cache and Cookies
Clearing your browser cache and cookies can sometimes fix unexpected timeout issues. Also, if you’re using a caching plugin, try clearing the cache from its settings.

Final Thoughts
The “Request Timed Out” error when installing or updating a WordPress plugin is usually caused by server settings, memory limitations, or conflicts with other plugins. By increasing the PHP execution time, adjusting your memory limit, and checking for conflicts, you can quickly resolve this issue.
If you continue having trouble, reaching out to your hosting provider for assistance or using manual plugin installation might be the best solutions. Keeping your WordPress site optimized will help prevent such problems in the future, ensuring a smoother experience.

